What are Split and Flutter?
Flutter is a cross-platform framework for designing beautiful mobile apps. Split is the premier feature delivery platform, including feature flags and experimentation and many integrations. If you’re building your app in Flutter, you can take full advantage of Split’s platform using the step-by-step techniques covered in this article. Dart is the programming language for Flutter. It has a lot of advanced features.
With logos so alike, how can’t it be a good fit?
Split Flutter Plugin
Split has supported Flutter for years, but not with a native Flutter Plugin. The Split plugin gives you the full SDK experience that you enjoy on other platforms:
- Client-side Evaluation
Now private information stays private, on the client-side. Split will never send private attributes back to its cloud. - Integration with Flutter staples like the FutureBuilder (read on for details)
- Dynamic configuration
Describe your user interface at the Split console, where a product manager might make changes, and see the results in your application without code changes (read on for details) - … and more you can read about in the official technical documentation.
Introducing Flutter Araki
Flutter Araki is a simple example of using Split with Flutter. You can review, clone, and run the example right from the Github site:
https://github.com/splitio/flutter-araki
You’ll need to sign up for a Split account if you haven’t already got one. Otherwise, I just expect that you’re already familiar with flutter. While flutter supports many IDEs, my examples are at the command line to be as universal as possible.
The rest of this article will walk through the Araki example.
Getting Started
Create a new directory and clone the repository.
git clone https://github.com/splitio/flutter-araki
I assume you have flutter on the command line. When you run the app, flutter will ask you to choose between targets. At this time, Split supports Android and iOS targets (so Chrome, MacOS, and Windows will not work). I used an iOS simulator.
flutter run
You should get a spinning blue circle. Kill it. The Split service is not available because:
- We haven’t installed the Split API token
- The referenced “multivariant_demo” feature flag has not been created.
Adding the Split API Token
On line 7 of your lib/main.dart, you must add your Split API token.
final Splitio _split = Splitio('<your split client-side api token>', 'key');
You can get a client-side API token from the Syntax button of your split or the Admin Settings of your Split account (top-left dropdown menu), and there is more coaching in the official documentation.
If you use the Syntax button, choose a client-side language like iOS or Android.
Creating the multivariant_demo split
Split is two-variant, “on” and “off”, by default, but you can create as many variants as you like for this example. In the screenshot, I show how I created dynamic config for three variants.
Each config has an “image” and a “text” key. This ultimately determines what Flutter will see in JSON at runtime. Make sure that you give your treatments an “image” URL and a “text”, as these are the values used by the Araki example. Feel free to borrow my text and URLs.

For easier cut-and-paste:
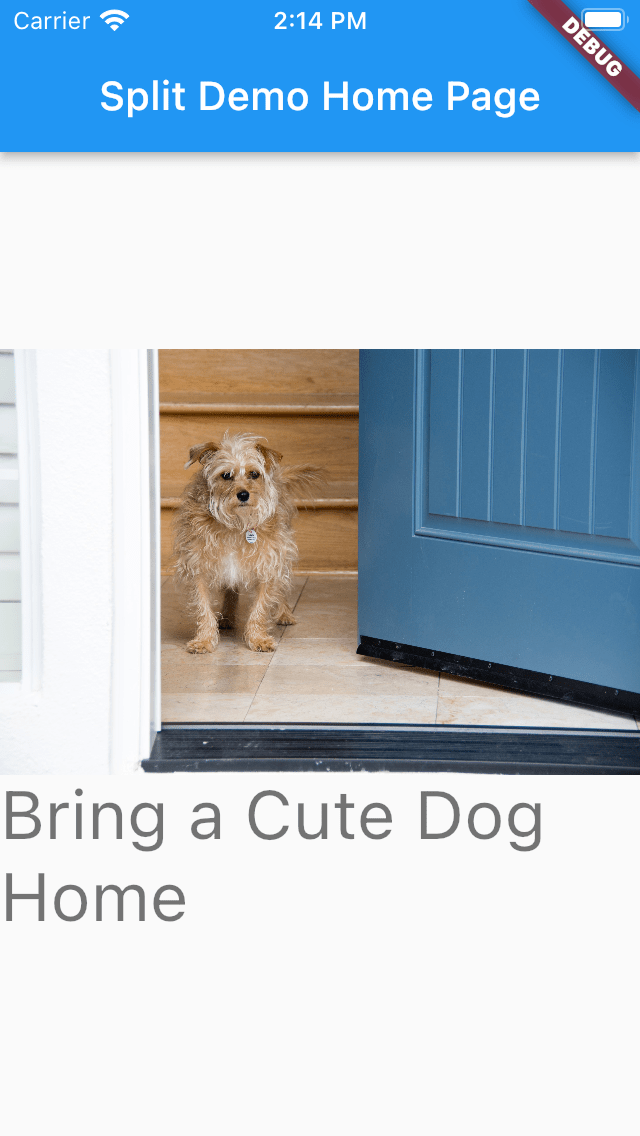
blue:   {"text":"Bring a Cute Dog Home","image":"http://www.cortazar-split.com/dog_by_the_door.jpeg"}

red:    {"text":"Adopt a Dog","image":"http://www.cortazar-split.com/dog_origin.jpeg"}

green:  {"text":"This dog is chillin'","image":"http://www.cortazar-split.com/dog_on_the_couch.jpeg"}
Run again!
flutter run
Now you should be looking at one of your images captioned by your text. If you used my examples, your screen might look like this dog.
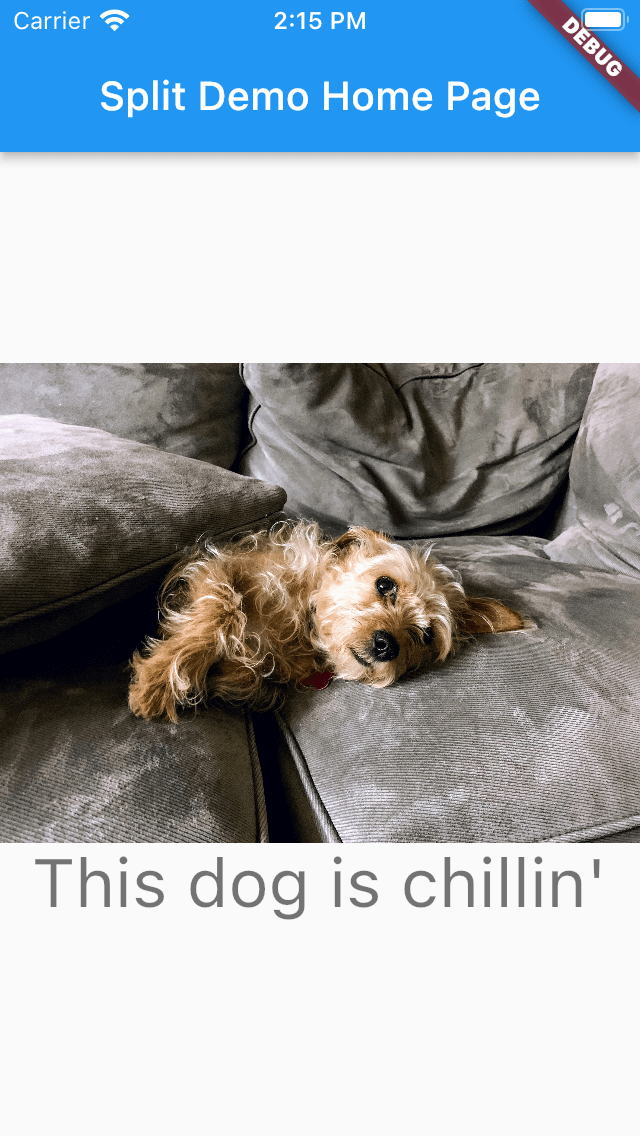
If you go back to Split, change the treatment, and run flutter again, you will get a new dog.
If you wish, you can actually change the pictures dynamically (without a flutter run) using Split’s streaming updates… covered in a future Flutter article about onUpdated.
How does it work?
First, for the details on how to put Flutter into an app, refer to the official plugin documentation. You add the Split package to your pubspec.yaml, flutter pub get, and add imports to your application code.
Split SDKs download the flags to the client, a feature called client-side evaluation, which keeps private information securely on the client-side, and gives some network resiliency to the client (it doesn’t need to perform network transactions with each feature flag evaluation).
How did I use the new plugin in my example?
Flutter features a FutureBuilder that is perfect for use with Split.
Widget build(BuildContext context) {
return FutureBuilder<SplitResult>(
future: _splitResult,
builder: (BuildContext context, AsyncSnapshot<SplitResult> snapshot) {
List<Widget> children;
if(snapshot.hasData) {
... what to show when data is available ...
else if (snapshot.hasError) {
... what to show when there's a problem ...
} else {
... show a progress indicator... spinning blue circle? ..
}
The FutureBuilder is waiting for its snapshot to become available. The snapshot is returned from the future, which is a _splitResult.
Future<SplitResult> getSplitTreatment() {
    Completer<SplitResult> resultCompleter = Completer();

    _split.client(onReady: (client) async {
      print("client is ready, calling getTreatment");
      resultCompleter
          .complete(client.getTreatmentWithConfig('multivariant_demo'));
    });

    return resultCompleter.future;
}

Future<SplitResult> _splitResult = getSplitTreatment();
This fancy footwork means that Split will resolve its feature flags before retrieving the multivariant_demo split. The SplitResult has a config field with the JSON defined at the Split console.
We use the JSON to define the main screen.
        if(snapshot.hasData) {
          var json = jsonDecode(snapshot.data!.config!);
          print("data: " + json['image']);

          children = <Widget> [
            Flexible(
              child: Scaffold(
                appBar: AppBar(
              title: Text(widget.title),
              ),
              body: Center(
              child: Column(
                mainAxisAlignment: MainAxisAlignment.center,
                children: <Widget>[
                  Image.network(json['image']),
                  Text(
                    json['text'],
                    style: Theme.of(context).textTheme.headline4,
                  ),
                ],
              ),)
            )
          )];
        }
Once the snapshot data is available, we JSON decode it. Then we can use the image url and the text to define the children below. You could configure any aspect of your Flutter app using this approach.
Conclusions
Using Split with Flutter is fun and easy. If you want more Split coaching specifically, please get in touch for more information. david.martin@split.io

Leave a comment